

Going Home
The next step is to take Daisy home to my garage where it is clean enough to do upholstery work and that is where my sewing machine is. Two things for sure have to be done at the shop before going. The steering box has developed a rather bad leak and I need to change the brake and clutch fluid. The second one also means change the front wheel brake hoses. The rear one has already been done. Depending on time, I may add a few smaller items.
To repair the leak meant removing the box from the car. I remembered doing this several years ago and that required lifting the front of the car pretty high and I had the entire front axle removed at the time. This time I though it might be possible to remove it from above. After a couple of attempts, I determined it was impossible. So I raised the car on jack stands and studied bringing it out with the axle in place. The column hitting the package shelf inside prevents lowering the box more than about a half inch so it has to come pretty much straight out. The oil filter, right in front of the box had to come out first. Then the spring and axle are too close to the frame for passage.
Since it is only four bolts and the brake hoses to drop the spring and axle, that was the next step. To my great disappointment, the tires still were hanging about four inches above the floor leaving still not enough clearance between the spring and frame. The shocks had reached their lower limit and were holding the assembly up. Disconnecting the link on the driver's side let the axle drop all the way, leaving what appeared to be enough space for the box to clear. As I started the extraction, it almost immediately fit the frame and could not be coerced to move any farther. Removing the top cover of the box from above solved that problem. Then the box cleared the spring but just as I though success was at hand, it suddenly stopped. There is a fixture riveted to the top of the column that is too large to fit through the hole in the firewall. It appeared the answer was to remove the tube from the box and pull the box, with the shaft, from the tube. This meant lifting the car even higher and removing the bearing from the upper end. With the shaft free, I pulled the column from inside the car. I reamed the hole a little to allow the assembly to be inserted from below.
I thought the steering box leak was the bottom seal but that turned out to be wrong. I got a new one anyway. The real leak was the shims at the lower end of the box. The end bearing outer race is held in by a thick washer that extends proud of the box end. Thin shims are then added between the box and its end cover to set the preload on the bearings. With the bolt fully tightened, the end cap was pressing on that washer and needed more shims not to touch. This allowed oil to seep slowly between the shims.
Some years ago, I purchased a complete box and steering column from ebay to get its pitman arm. I'm sure I mentioned somewhere in the previous chapters that the composite one I built is a little short. Well, the upper mounting ear on my existing box is partly broken off so I decided to use the entire new box. This meant removing the column tube from mine and adapting the new box to it. This also gave me several more shims to correct the above leak problem. It also gave me a bunch more bearing balls. Both top and bottom bearings in the box as well as the one at the steering wheel all loose balls, 13 at each one, and I was short several at the wheel.
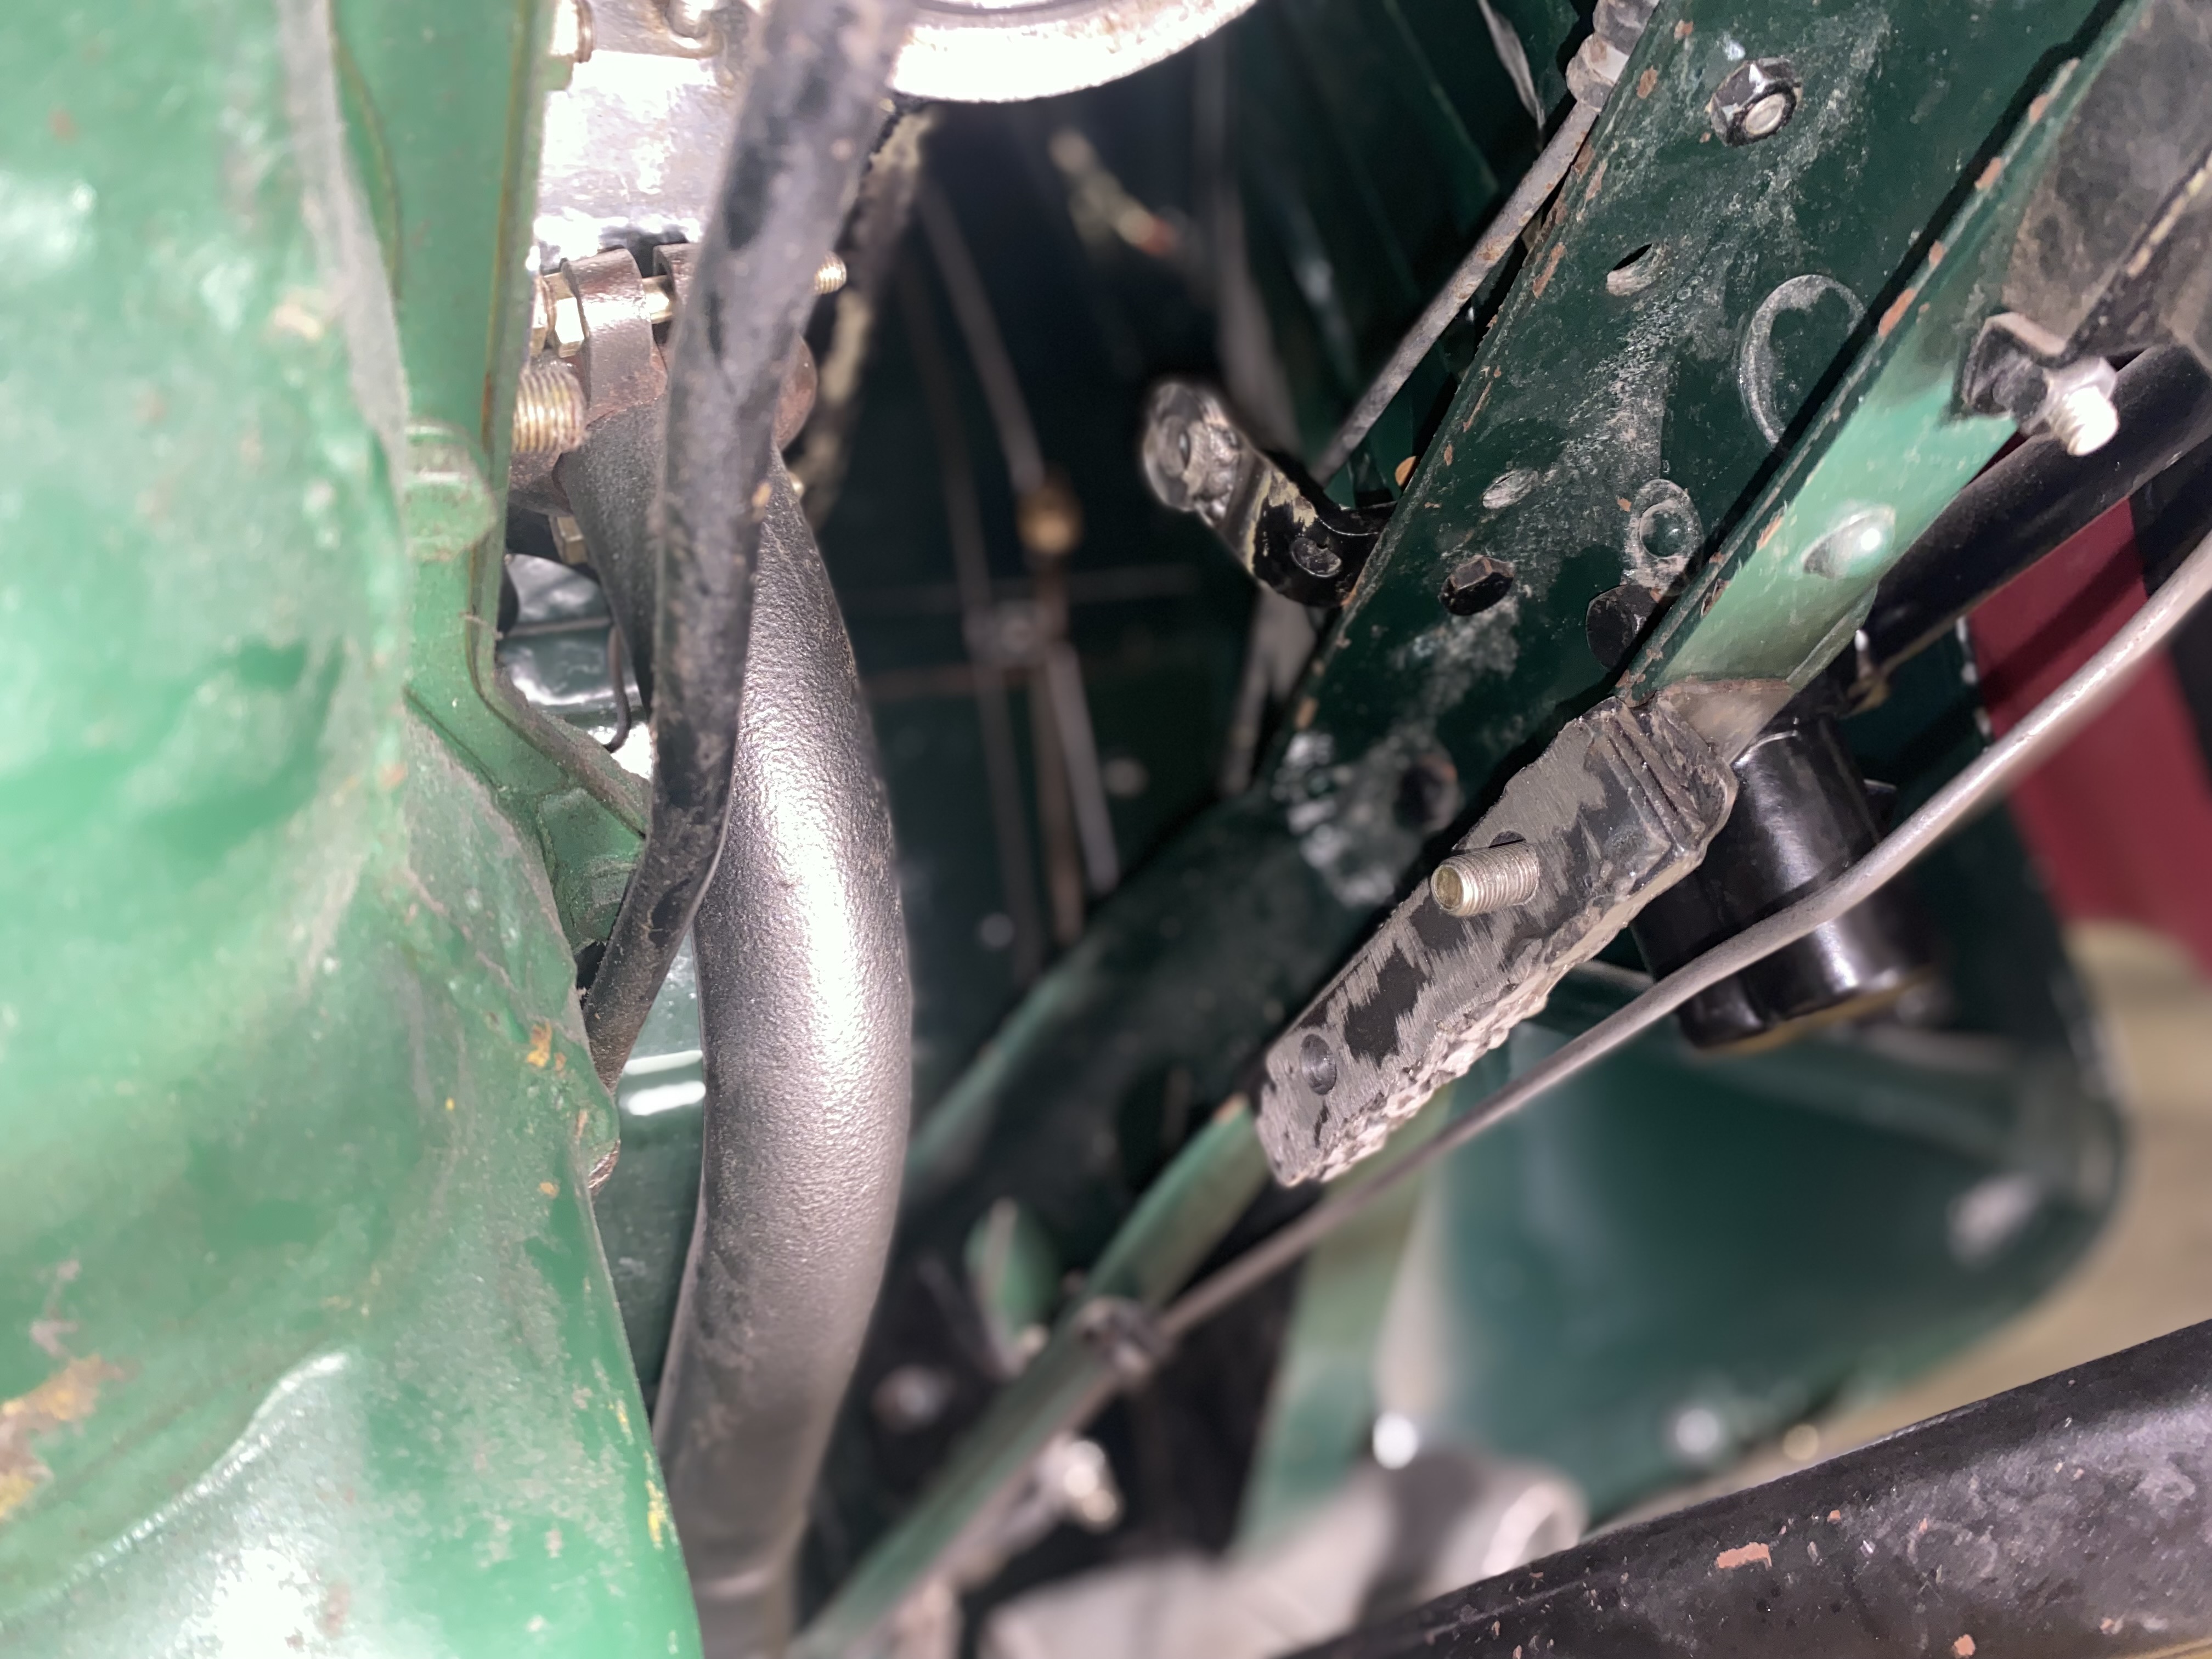
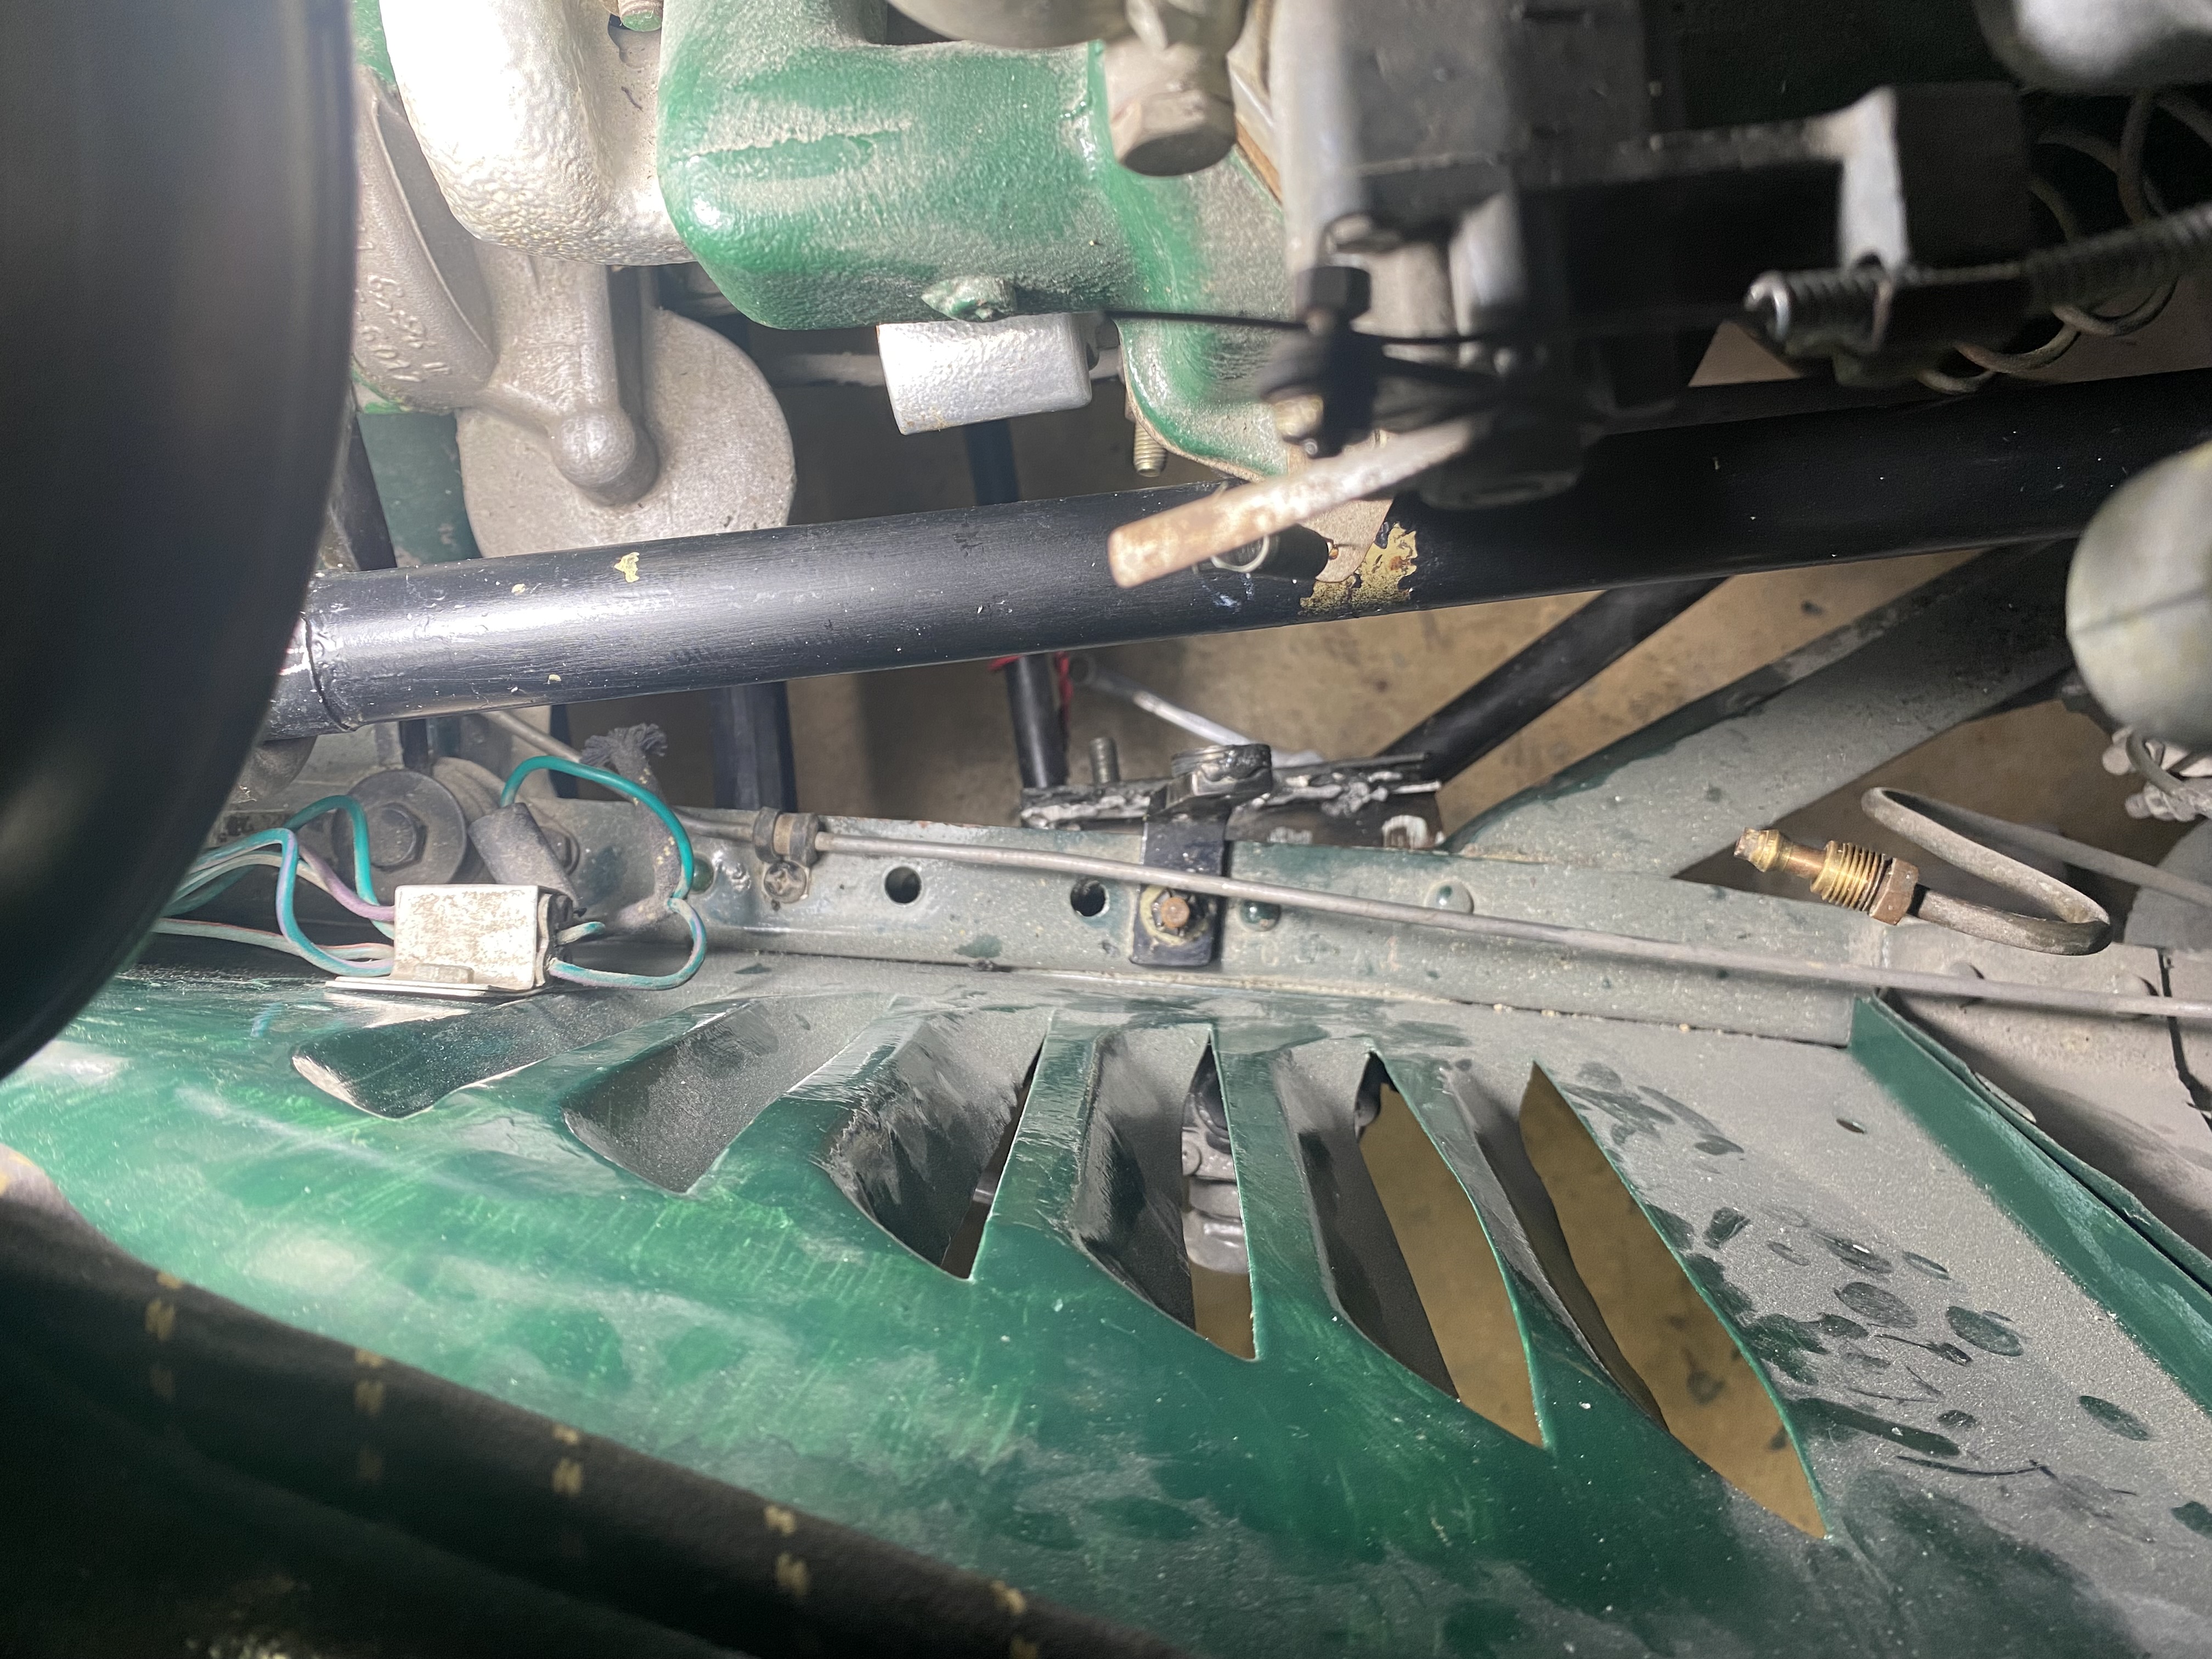 The original mounting brackets I built to adapt the later box to my frame were a bit
short making the column rub against the hole in the firewall so I added two 1/8 inch
strips of steel to the bottom one and some washers to the upper. When I reinstalled
the box this time, I determined that it was still too much off center in the hole so
I added two more 1/8 inch strips and washers at the top again. This time I welded all
the additions to the brackets to avoid having to assemble the whole thing under the
car. These photos show the finalized brackets.
After getting it all installed, I had to take it all loose again in order to install the rubber grommet at the firewall so I am getting a lot of experience. That turns out to be a good thing though. Bolting the top back onto the box, after getting three bolts in, I could not do the fourth. The oil filter adapter was too close and would not allow straight enough access to get the bolt started. So, once again, I had to take it all loose and shift it back about half and inch, install the bolt then put it all back together again.
While tightening the last bolt on the bottom under the car, the horn suddenly went off. Inside a closed building, it is exceptionally loud. In fact, it was so loud that I thought it was the burglar alarm so that was the source I was searching for. After several minutes it finally stopped. Then, smelling something hot and hearing a small noise from the car, I finally noticed a small amount of the Lucas smoke escaping from the air horn's compressor. I managed to remove the battery cable and start looking for the cause. I found the loose wires from the manette possibly touching the jack stand which was grounded to the chassis and thought that must be it. Clearer thinking later, however, reminded me those wires are not connected to the system yet so could not be the cause. I finally found the horn wire at the nearby five-way connector that all these wires eventually plug into had been pulled out at some time during this whole project and finally managed to touch a ground. Replacing that and reconnecting the battery seems to have solved the problem. And the air horn still lives.